Contacts Database and Forms Template

Contacts Database and Forms Template

Mastering Contact Management with Flask: A Guide to the Contacts Database and Forms Template

Contacts Database and Forms Template
Author
: K0NxT3D

In this guide, we will explore a practical and effective Flask template that allows beginner to intermediate Python developers to manage contact information easily. The Contacts Database and Forms Template is designed to simplify the process of building a database-driven application using Flask, SQLite, and SQLAlchemy. Whether you are new to Flask or looking to streamline your existing projects, this template is an excellent starting point for your next app.

Introduction to Flask and SQLAlchemy

Flask is a lightweight Python web framework that helps developers build web applications quickly with minimal effort. SQLAlchemy is an ORM (Object-Relational Mapping) tool for Python, which allows developers to interact with databases using Python objects instead of raw SQL queries. In this template, we leverage Flask and SQLAlchemy to create a simple but powerful Contact Management System.

Key Features of the Contacts Database and Forms Template

  • Flask-based Web Application: Built with Flask, this template offers an easy-to-understand, scalable foundation for building dynamic web applications.
  • SQLite Integration: By default, this template uses SQLite, a lightweight database engine, perfect for development and small projects.
  • Forms for Data Entry: The application provides forms for adding, viewing, and editing contact information, making it highly user-friendly.
  • Internal and External File Management: Organize static files such as images and JavaScript files to keep your app structure neat.

Core Concepts and Structure of the Template

The application consists of several components that make it functional and user-friendly:

  1. Flask Setup and Configuration: The app is configured to run on port 32034 by default. The database connection is established using SQLite, ensuring that data can be stored locally in a file named default.db.
  2. The Contact Information Model: The core of this application is the ContactInfo model, defined using SQLAlchemy. This model includes fields for:
    • Name
    • Address
    • City
    • State
    • Zip Code
    • Phone
    • Email
  3. Database Operations: Using SQLAlchemy, this template performs basic CRUD operations:
    • Create: Users can add new contacts through a form.
    • Read: Contacts are displayed in a dropdown for viewing or editing.
    • Update: Contact information can be updated with new details.
  4. User Interface with Jinja Templates: The HTML content is dynamically generated using Jinja, Flask’s templating engine. This enables the app to display content such as contact details, forms, and menus based on user input.

Step-by-Step Walkthrough

1. Running the Application

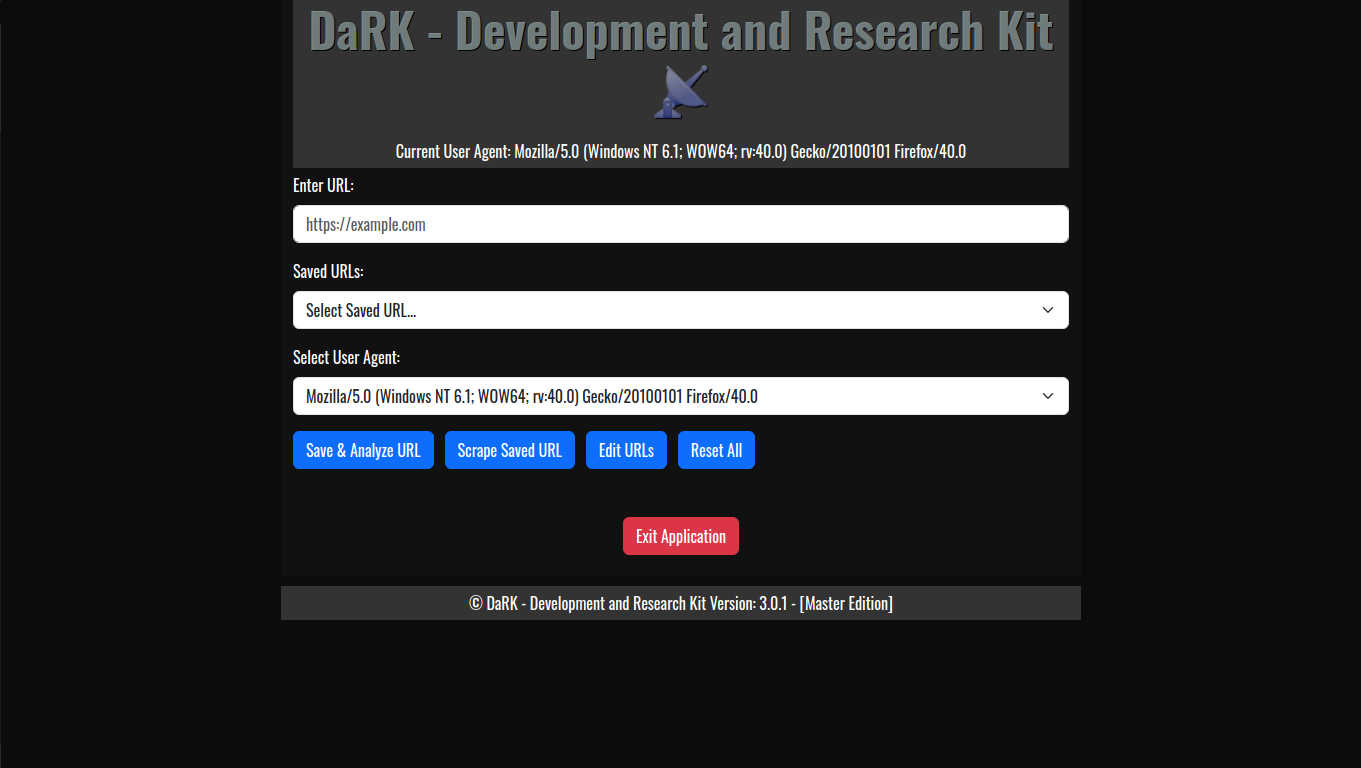
The application starts by opening a browser window pointing to http://127.0.0.1:32034, allowing users to interact with the interface directly. It offers three main actions:

  • Enter Contact Information: A form to add new contact details.
  • View Contact Information: A dropdown menu to select a contact and view their details.
  • Edit Contact Information: Allows users to select and modify existing contact information.

2. Adding Contacts

The add_contacts route enables users to input their contact details through a user-friendly form. Upon submitting the form, the data is saved to the database, and the user is redirected to a success page that displays the entered information.

Example form fields include:

  • Full Name
  • Address
  • City
  • State
  • Zip Code
  • Phone
  • Email

3. Viewing Contacts

The view_contacts route allows users to select a contact from a dropdown menu and view their details. When a contact is selected, their information is displayed in a neat format, and clickable links are provided for phone numbers and email addresses.

4. Editing Contacts

The edit_contacts route allows users to update the details of an existing contact. The user selects a contact, modifies the information, and submits the updated details. The changes are then saved back to the database.

5. Exiting the Application

For developers testing or experimenting with this application, the exit_app route provides an option to shut down the Flask application gracefully with a delayed redirect.

Advantages for Python Beginners and Intermediate Developers

  • Beginner-Friendly: The template is simple enough for newcomers to Flask and Python to understand and build upon. It comes with detailed comments explaining each step of the process.
  • Database Integration Made Easy: The integration of SQLite and SQLAlchemy allows you to get started with databases without the complexity of more advanced systems like PostgreSQL or MySQL.
  • Extensibility: The structure is flexible, enabling you to add more functionality like user authentication, advanced search features, or exporting contact data to CSV or Excel formats.

How to Customize and Extend the Template

As a beginner or intermediate Python developer, you might want to extend this template to suit your specific needs. Here are a few ideas for customization:

  1. User Authentication: Integrate Flask-Login or Flask-Security to manage user accounts and restrict access to the contact management features.
  2. Enhanced Search Functionality: Add search features to allow users to filter contacts based on certain criteria (e.g., by name, city, or email).
  3. Exporting Data: Implement features to export the contact data into formats like CSV or Excel, allowing users to back up or share their contact lists.

Contacts Database and Forms Template – Included Files:

  • app.py
  • requirements.txt (For Python Module Dependencies)
  • base.html (HTML Template File)
  • default.css
  • Image Files
  • genreq.py *

* Custom Python script which generates a requirements.txt if pip should be problematic.
More Here…

Contacts Database and Forms Template Download:

The Contacts Database and Forms Template is a perfect starting point for beginner to intermediate Python developers looking to build a simple Flask application with database integration. It demonstrates essential concepts like database models, form handling, and template rendering, providing a solid foundation for further development. Whether you’re learning Flask or building a contact management app, this template is a versatile tool for your Python projects.

Explore it, customize it, and make it your own—this template is just the beginning of your web development journey!

DaRK Development And Research Kit 3.0 Scraper Crawler Preview Webmaster Utilities

Stand Alone Flask Application

Stand Alone Flask Application Template By K0NxT3D

The Stand Alone Flask Application Template is a minimal yet powerful starting point for creating Flask-based web UI applications. Developed by K0NxT3D, this template is designed to run a Flask app that can be deployed easily on a local machine. It features an embedded HTML template with Bootstrap CSS for responsive design, the Oswald font for style, and a simple yet effective shutdown mechanism. Here’s a detailed look at how it works and how you can use it.


Stand Alone Flask Application – Key Features

  1. Basic Flask Setup
    The template leverages Flask, a lightweight Python web framework, to build a minimal web application. The app is configured to run on port 26001, with versioning details and a friendly app name displayed in the user interface.
  2. Embedded HTML Template
    The HTML template is embedded directly within the Flask application code using render_template_string(). This ensures that the application is fully self-contained and does not require external HTML files.
  3. Bootstrap Integration
    The application uses Bootstrap 5 for responsive UI components, ensuring that the application adapts to different screen sizes. Key elements like buttons, form controls, and navigation are styled with Bootstrap’s predefined classes.
  4. Oswald Font
    The Oswald font is embedded via Google Fonts, giving the application a modern, clean look. This font is applied globally to the body and header elements.
  5. Shutdown Logic
    One of the standout features is the built-in shutdown mechanism, allowing the Flask server to be stopped safely. The /exit route is specifically designed to gracefully shut down the server, with a redirect and a JavaScript timeout to ensure the application closes cleanly.
  6. Automatic Browser Launch
    When the application is started, the script automatically opens the default web browser to the local Flask URL. This is done by the open_browser() function, which runs in a separate thread to avoid blocking the main Flask server.

How The Stand Alone Flask Application Works

1. Application Setup

The core setup includes the following elements:

TITLE = "Flask Template"
VERSION = '1.0.0'
APPNAME = f"{TITLE} {VERSION}"
PORT = 26001
app = Flask(TITLE)

This sets the title, version, and application name, which are used throughout the app’s user interface. The PORT is set to 26001 and can be adjusted as necessary.

2. Main Route (/)

The main route (/) renders the HTML page, displaying the app title, version, and a button to exit the application:

@app.route('/', methods=['GET', 'POST'])
def index():
return render_template_string(TEMPLATE, appname=APPNAME, title=TITLE, version=VERSION)

This route serves the home page with an HTML template that includes Bootstrap styling and the Oswald font.

3. Shutdown Route (/exit)

The /exit route allows the server to shut down gracefully. It checks that the request is coming from localhost (to avoid unauthorized shutdowns) and uses JavaScript to redirect to an exit page, which informs the user that the application has been terminated.

@app.route('/exit', methods=['GET'])
def exit_app():
if request.remote_addr != '127.0.0.1':
return "Forbidden", 403
Timer(1, os._exit, args=[0]).start() # Shutdown Server
return render_template_string(html_content, appname=APPNAME, title=TITLE, version=VERSION)

This section includes a timer that schedules the server’s termination after 1 second, allowing the browser to process the redirect.

4. HTML Template

The embedded HTML template includes:

  • Responsive Design: Using Bootstrap, the layout adapts to different devices.
  • App Title and Version: Dynamically displayed in the header.
  • Exit Button: Allows users to gracefully shut down the application.
<header>
<span class="AppTitle" id="title">{{title}} {{version}}</span>
</header>

This structure creates a clean, visually appealing user interface, with all styling contained within the app itself.

5. Automatic Browser Launch

The following function ensures that the web browser opens automatically when the Flask app is launched:

def open_browser():
webbrowser.open(f"http://127.0.0.1:{PORT}")

This function is executed in a separate thread to avoid blocking the Flask server from starting.


How to Use the Template

  1. Install Dependencies:
    Ensure that your requirements.txt includes the following:

    Flask==2.0.3

    Install the dependencies with pip install -r requirements.txt.

  2. Run the Application:
    Start the Flask application by running the script:

    python app.py

    This will launch the server, open the browser to the local URL (http://127.0.0.1:26001), and serve the application.

  3. Exit the Application:
    You can shut down the application by clicking the “Exit Application” button, which triggers the shutdown route (/exit).

Why Use This Template?

This template is ideal for developers looking for a simple and straightforward Flask application to use as a base for a web UI. It’s particularly useful for local or single-user applications where quick setup and ease of use are essential. The built-in shutdown functionality and automatic browser launch make it even more convenient for developers and testers.

Additionally, the use of Bootstrap ensures that the UI will look good across all devices without requiring complex CSS work, making it a great starting point for any project that needs a web interface.


The Stand Alone Flask Application Template by K0NxT3D is an efficient and versatile starting point for building simple Flask applications. Its integrated features, including automatic browser launching, shutdown capabilities, and embedded Bootstrap UI, make it a powerful tool for developers looking to create standalone web applications with minimal setup.

DaRK Development And Research Kit 3.0 Scraper Crawler Preview Webmaster Utilities

DaRK Development and Research Kit 3.0

DaRK – Development and Research Kit 3.0 [Master Edition]:
Revolutionizing Web Scraping and Development Tools

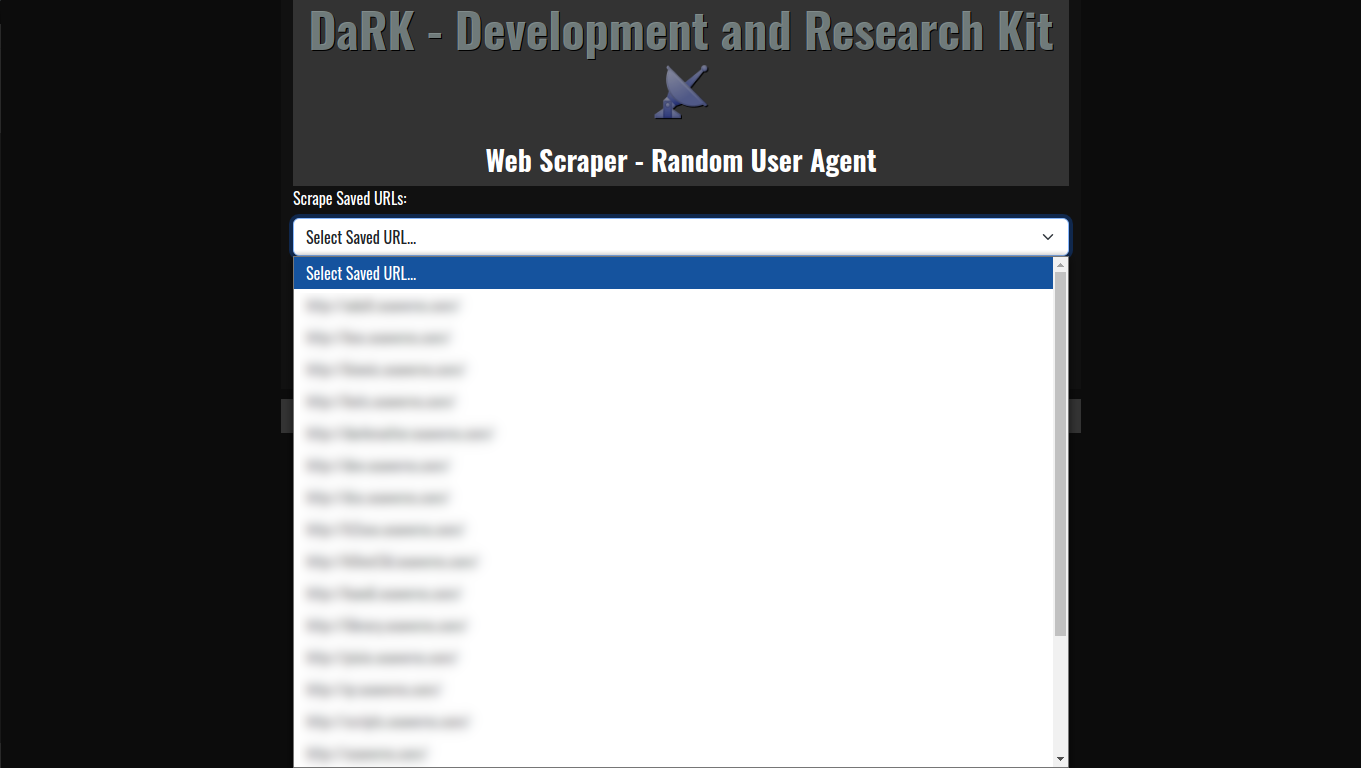
DaRK – Development and Research Kit 3.0 (Master Edition) is an advanced, standalone Python application designed for developers, researchers, and cybersecurity professionals. This tool streamlines the process of web scraping, web page analysis, and HTML code generation, all while integrating features such as anonymous browsing through Tor, automatic user-agent rotation, and a deep scraping mechanism for extracting content from any website.

Key Features and Capabilities

  1. Web Page Analysis:
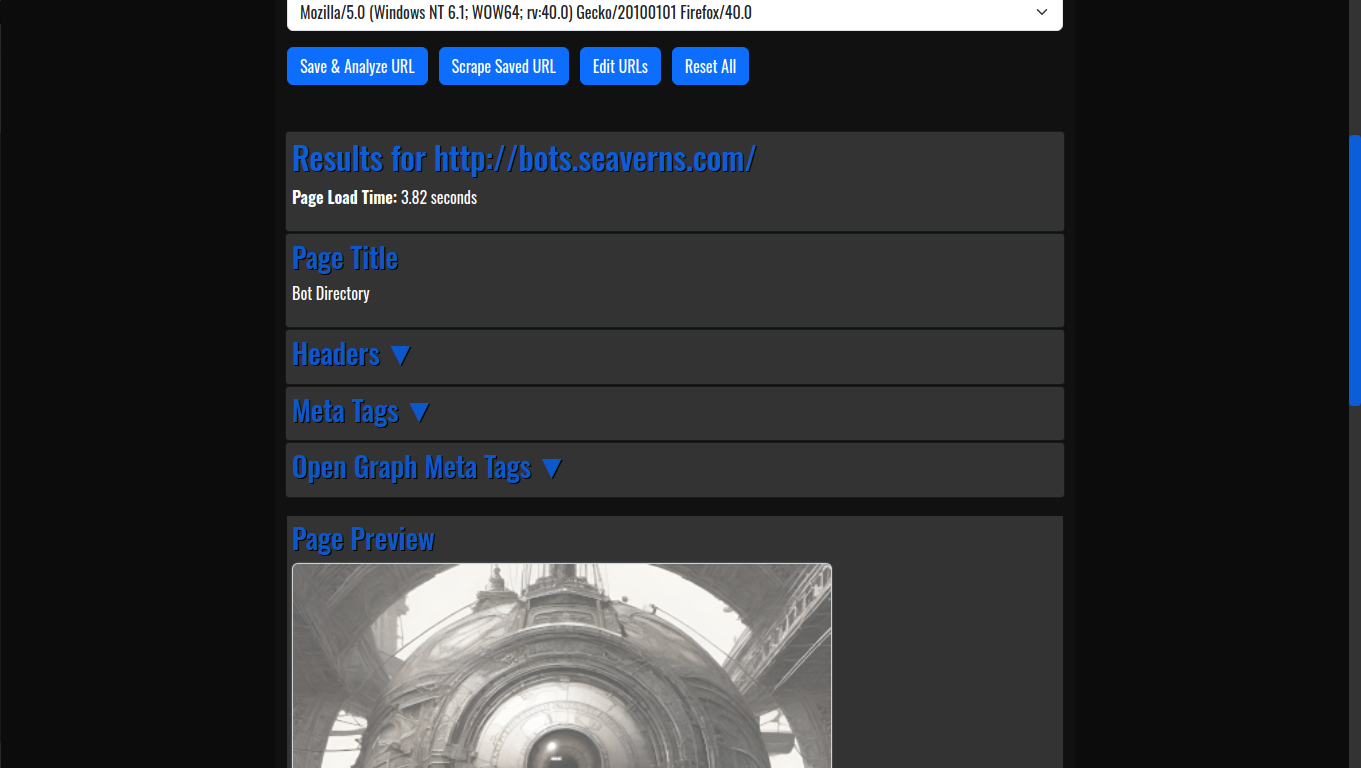
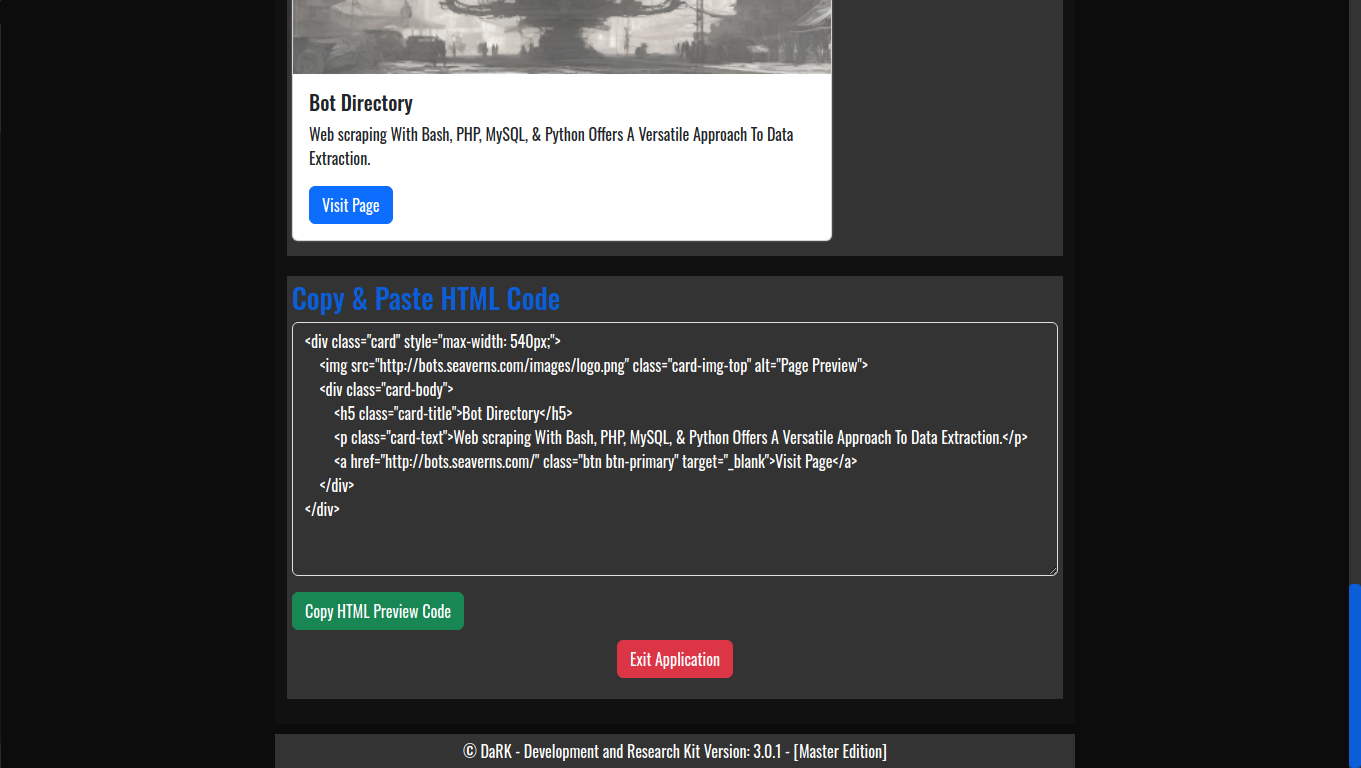
    • HTML Code Previews: The application allows developers to generate live HTML previews of web pages, enabling quick and efficient testing without needing to launch full web browsers or rely on external tools.
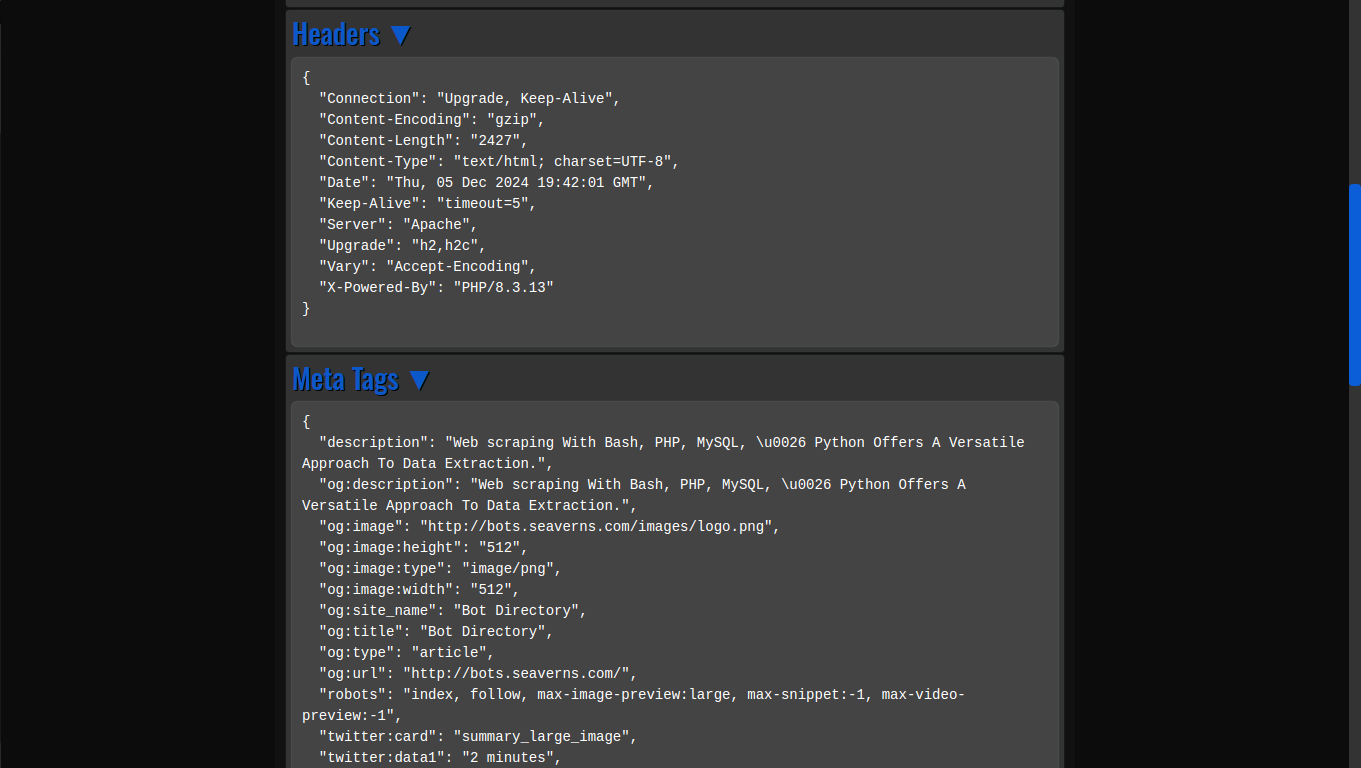
    • View Web Page Headers: By simply entering a URL, users can inspect the HTTP headers returned by the web server, offering insights into server configurations, response times, and more.
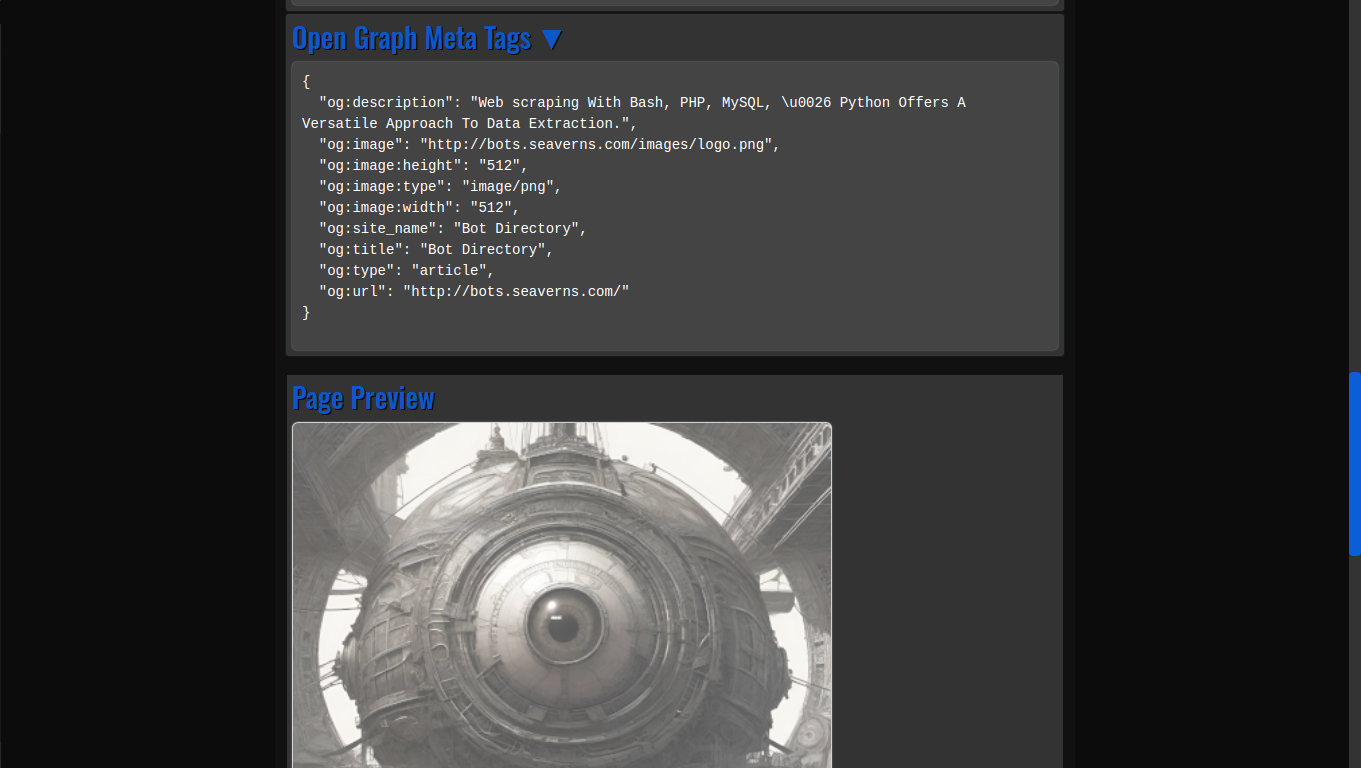
    • Og Meta Tags: Open Graph meta tags, which are crucial for social media previews, are extracted automatically from any URL, providing developers with valuable information about how a webpage will appear when shared on platforms like Facebook and Twitter.
  2. Web Scraping Capabilities:
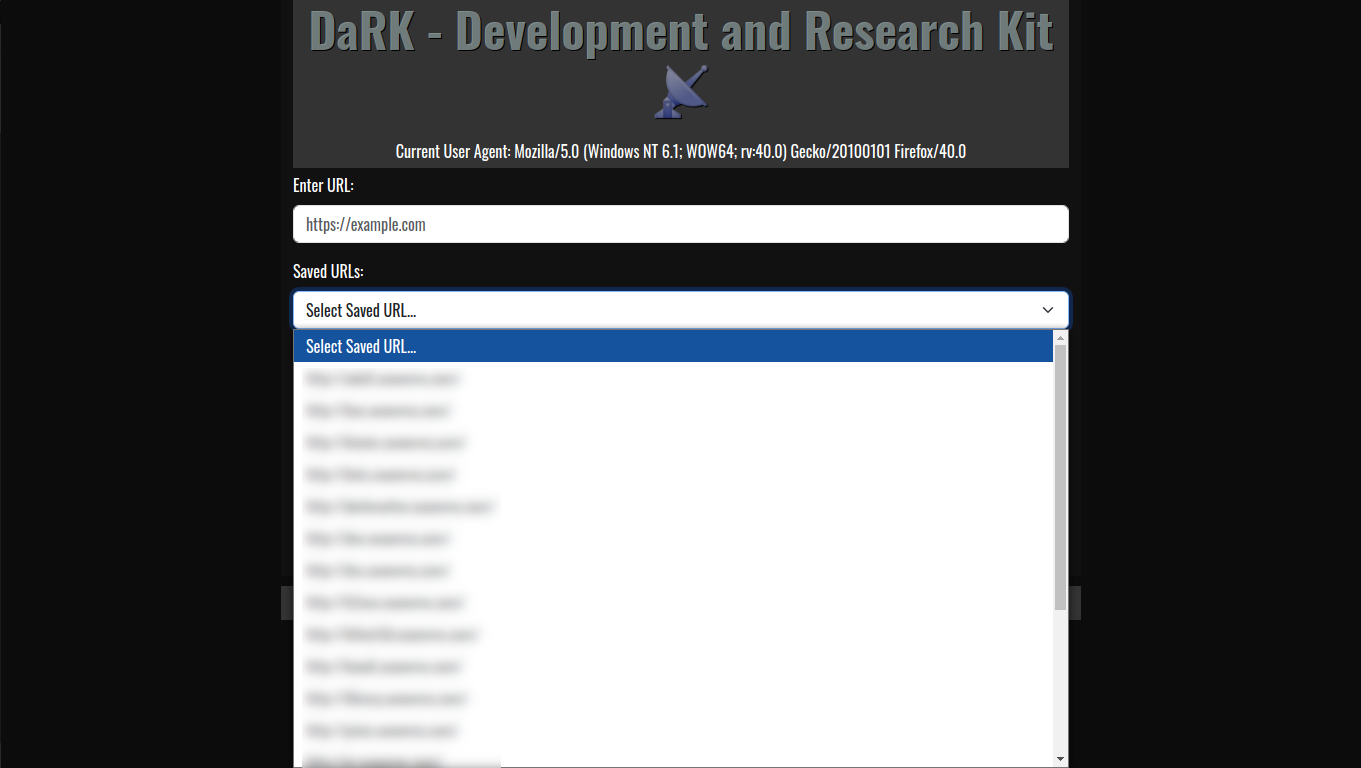
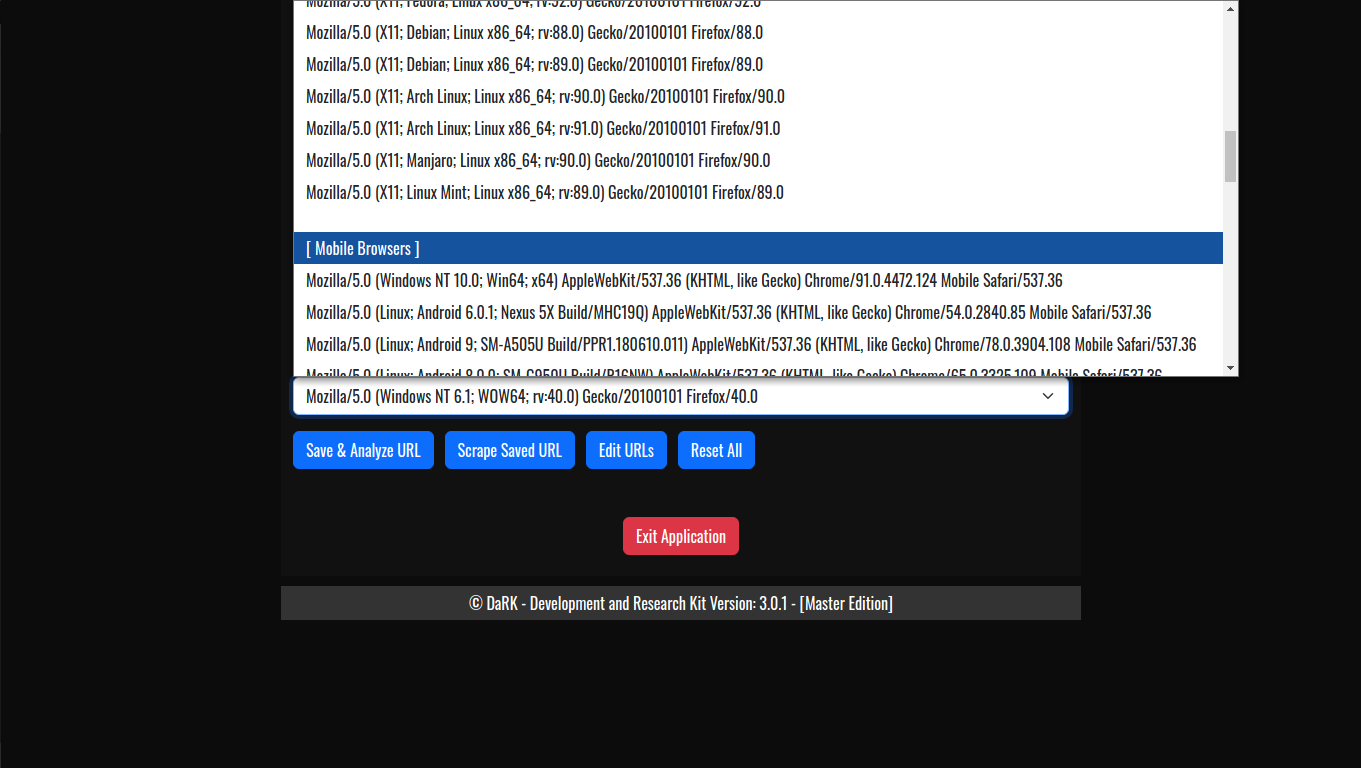
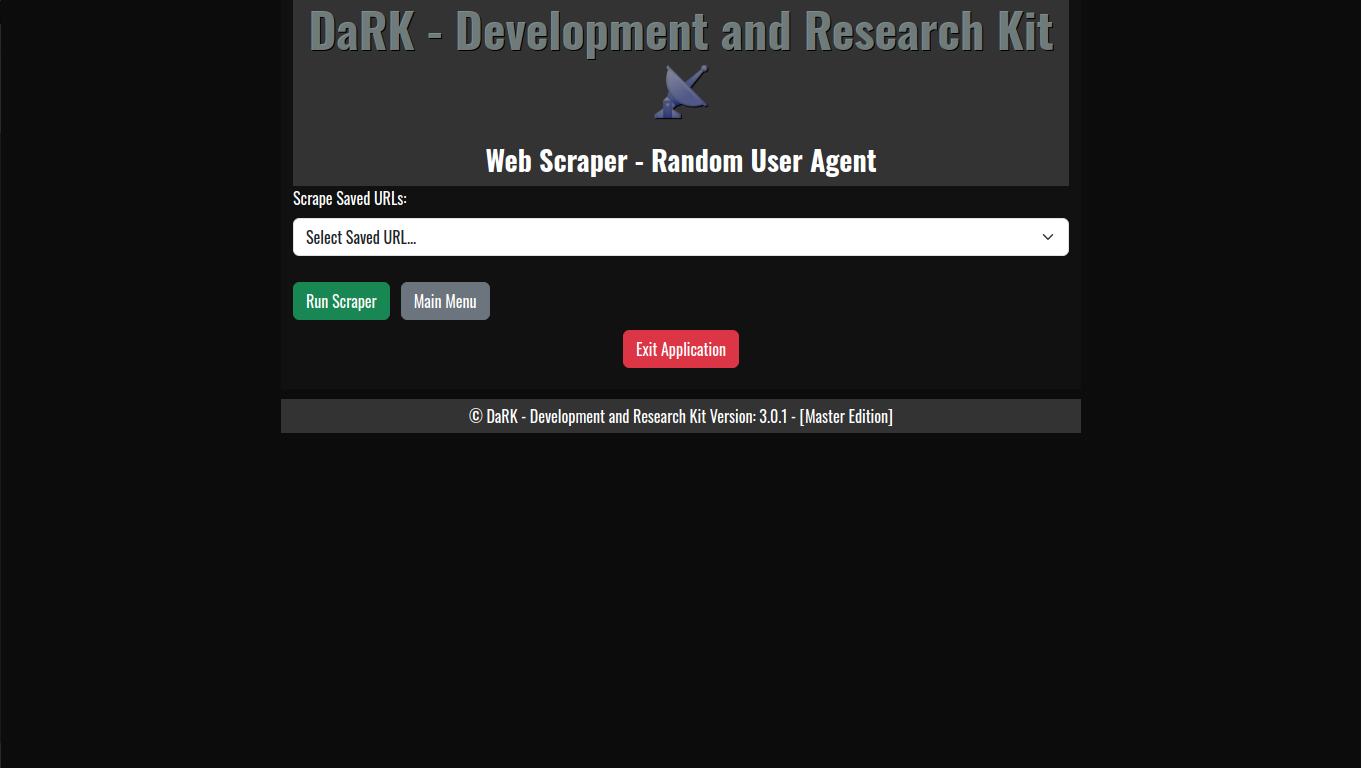
    • Random User-Agent Rotation: The application comes with an extensive list of over 60 user-agents, including popular browsers and bots. This allows for a varied and random selection of user-agent strings for each scraping session, helping to avoid detection and rate-limiting from websites.
    • Deep Scraping: The scraping engine is designed for in-depth content extraction. It is capable of downloading and extracting nearly every file on a website, such as images, JavaScript files, CSS, and documents, making it an essential tool for researchers, web developers, and penetration testers.
  3. Anonymity with Tor:
    • The app routes all HTTP/HTTPS requests through Tor, ensuring anonymity during web scraping and browsing. This is particularly beneficial for scraping data from sites that restrict access based on IP addresses or are behind geo-blocking mechanisms.
    • Tor Integration via torsocks: DaRK leverages the torsocks tool to ensure that all requests made by the application are anonymized, providing an extra layer of privacy for users.
  4. Browser Control:
    • Launch and Close Browser from HTML: Using the Chrome browser, DaRK can launch itself as a web-based application, opening a local instance of the tool’s user interface (UI) in the browser. Once finished, the app automatically closes the browser to conserve system resources, creating a seamless user experience.
  5. SQLite Database for URL Storage:
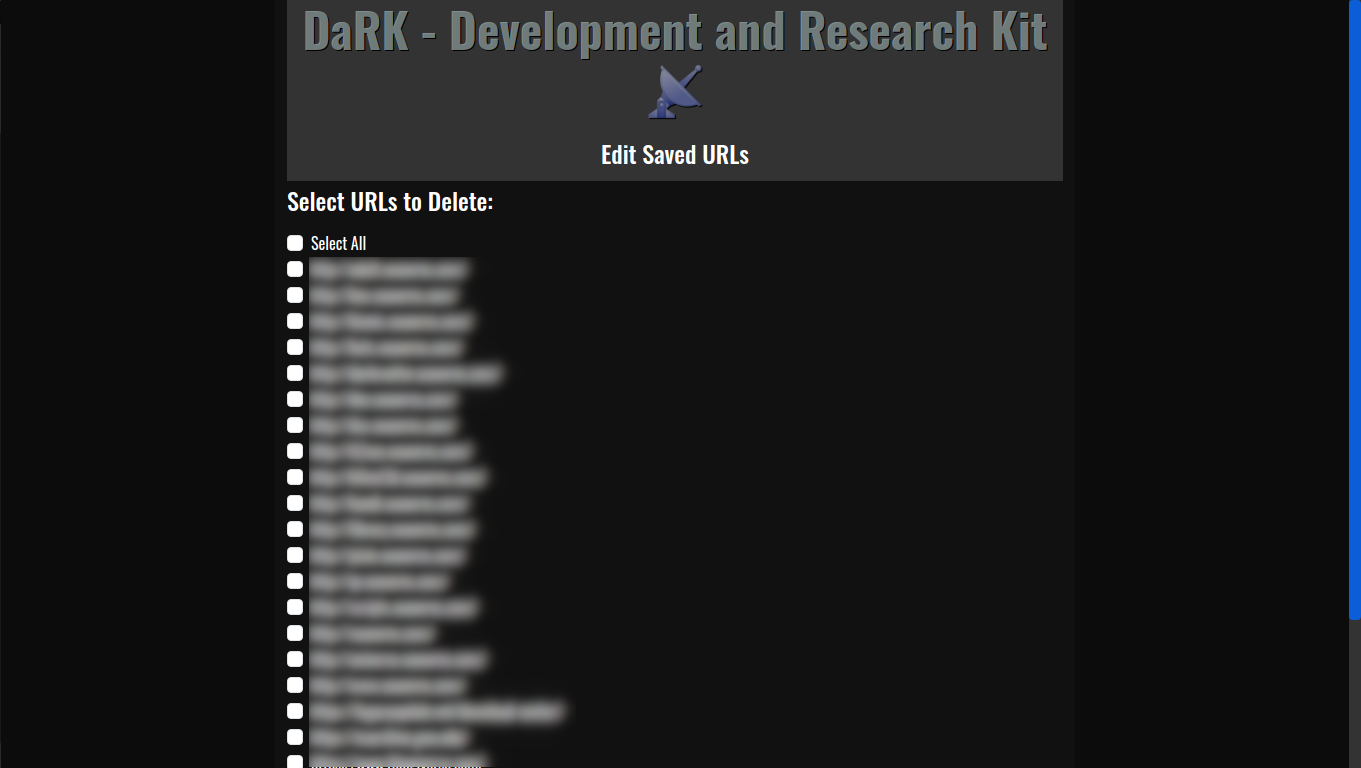
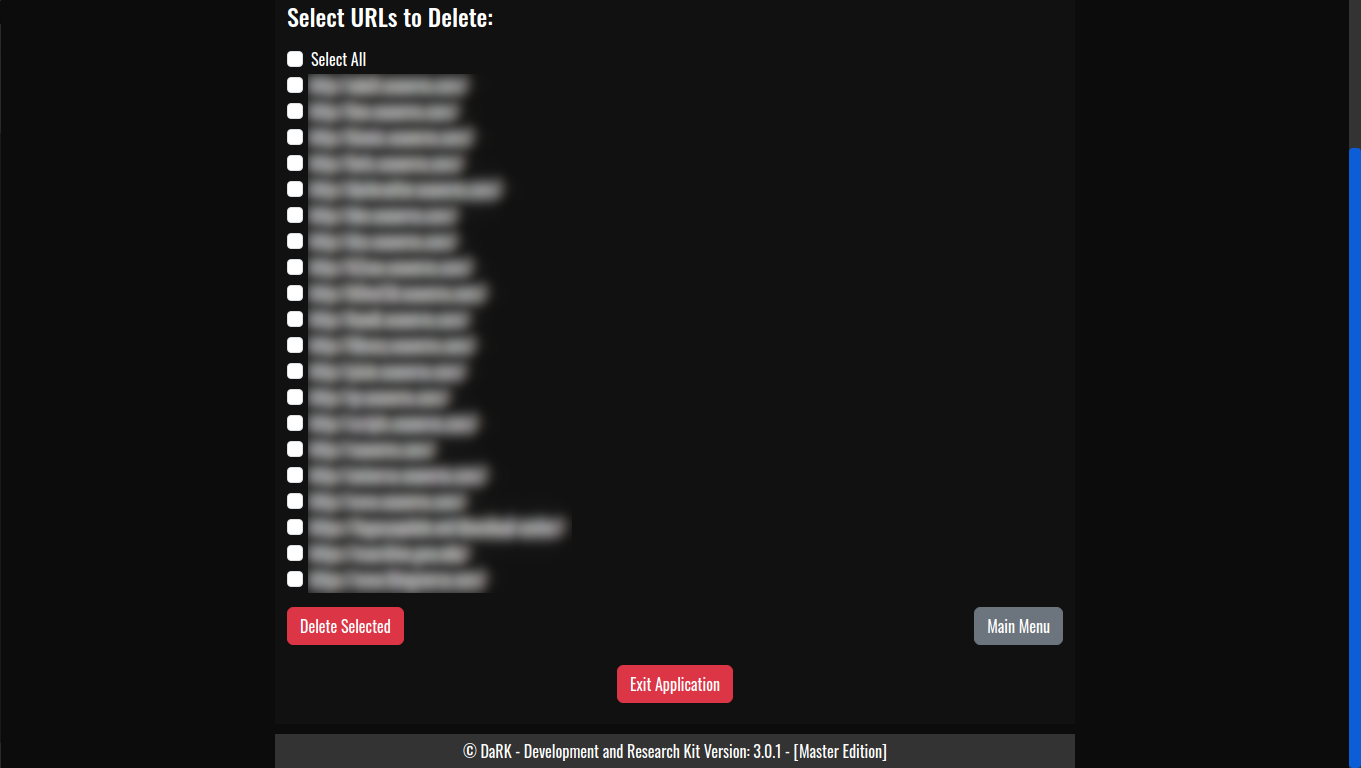
    • Persistent Storage: The tool maintains a local SQLite database where URLs are stored, ensuring that web scraping results can be saved, revisited, and referenced later. The URLs are timestamped, making it easy to track when each site was last accessed.
  6. Flask Web Interface:
    • The application includes a lightweight Flask web server that provides a user-friendly interface for interacting with the app. Users can input URLs, generate previews, and review scraped content all from within a web-based interface.
    • The Flask server runs locally on the user’s machine, ensuring all data stays private and secure.

DaRK Development and Research Kit 3.0 Core Components

  • Tor Integration: The get_tor_session() function configures the requests library to route all traffic through the Tor network using SOCKS5 proxies. This ensures that the user’s browsing and scraping activity remains anonymous.
  • Database Management: The initialize_db() function sets up an SQLite database to store URLs, and save_url() ensures that new URLs are added without duplication. This enables the tool to keep track of visited websites and their metadata.
  • Web Scraping: The scraping process utilizes BeautifulSoup to parse HTML content and extract relevant information from the web pages, such as Og meta tags and headers.
  • Multi-threading: The tool utilizes Python’s Thread and Timer modules to run operations concurrently. This helps in opening the browser while simultaneously executing other tasks, ensuring optimal performance.

Use Case Scenarios

  • Developers: DaRK simplifies the process of generating HTML previews and inspecting headers, making it a valuable tool for web development and testing.
  • Cybersecurity Professionals: The deep scraping feature, along with the random user-agent rotation and Tor integration, makes DaRK an ideal tool for penetration testing and gathering information on potentially malicious or hidden websites.
  • Researchers: DaRK is also an excellent tool for gathering large volumes of data from various websites anonymously, while also ensuring compliance with ethical scraping practices.

DaRK Development and Research Kit 3.0

DaRK – Development and Research Kit 3.0 [Master Edition] is a powerful and versatile tool for anyone needing to interact with the web at a deeper level. From generating HTML previews and inspecting web headers to performing advanced web scraping with enhanced privacy via Tor, DaRK offers an all-in-one solution. The application’s integration with over 60 user agents and its deep scraping capabilities ensure it is both effective and resilient against modern web security mechanisms. Whether you are a developer, researcher, or security professional, DaRK offers the tools you need to work with the web efficiently, securely, and anonymously.

Seaverns Web Development Coding Security Applications and Software Development Bex Severus Galleries Digital Art & Photography

Apache LAMP Install Script

Apache LAMP Install Script

Here’s a full Apache LAMP Install Script for setting up aa LAMP stack on Ubuntu (assuming Linux is excluded from the setup), including the installation and configuration of Apache, PHP, MySQL, and phpMyAdmin. The script also includes basic Apache configurations, enabling modules like mod_rewrite, and configuring phpMyAdmin with secure settings.

Full Apache LAMP Install Script
(for Ubuntu-based systems):


#!/bin/bash

# Update and upgrade the system
sudo apt update -y
sudo apt upgrade -y

# Add PPA for PHP and Apache
echo "Adding PPA repositories for PHP and Apache..."
sudo add-apt-repository ppa:ondrej/php -y
sudo add-apt-repository ppa:ondrej/apache2 -y
sudo apt update -y

# Install Apache2
echo "Installing Apache2..."
sudo apt install apache2 -y

# Install PHP and commonly used extensions
echo "Installing PHP and extensions..."
sudo apt install php libapache2-mod-php php-cli php-mysql php-curl php-gd php-xml php-mbstring php-zip php-soap -y

# Install MySQL Server and secure the installation
echo "Installing MySQL Server..."
sudo apt install mysql-server -y

# Run MySQL Secure Installation
echo "Securing MySQL installation..."
sudo mysql_secure_installation

# Install phpMyAdmin
echo "Installing phpMyAdmin..."
sudo apt install phpmyadmin php-mbstring php-zip php-gd php-json php-curl -y

# Link phpMyAdmin to Apache web directory
echo "Configuring phpMyAdmin..."
sudo ln -s /usr/share/phpmyadmin /var/www/html/phpmyadmin

# Set permissions for phpMyAdmin
echo "Setting permissions for phpMyAdmin..."
sudo chown -R www-data:www-data /usr/share/phpmyadmin
sudo chmod -R 755 /usr/share/phpmyadmin

# Enable Apache modules
echo "Enabling Apache modules..."
sudo a2enmod rewrite
sudo a2enmod headers
sudo a2enmod ssl

# Set up basic Apache configurations (security headers, etc.)
echo "Configuring Apache settings..."
echo '
<IfModule mod_headers.c>
Header always set X-Content-Type-Options "nosniff"
Header always set X-XSS-Protection "1; mode=block"
Header always set X-Frame-Options "SAMEORIGIN"
Header always set Referrer-Policy "no-referrer"
</IfModule>

<IfModule mod_rewrite.c>
RewriteEngine On
RewriteCond %{REQUEST_FILENAME} !-f
RewriteCond %{REQUEST_FILENAME} !-d
RewriteRule ^(.+)$ /index.php [QSA,L]
</IfModule>
' | sudo tee /etc/apache2/conf-available/security_headers.conf > /dev/null

# Enable custom security headers configuration
sudo a2enconf security_headers

# Enable and restart Apache and MySQL services
echo "Restarting Apache and MySQL..."
sudo systemctl restart apache2
sudo systemctl restart mysql

# Set MySQL to start on boot
echo "Ensuring MySQL starts on boot..."
sudo systemctl enable mysql

# Test Apache and MySQL installation
echo "Testing Apache and MySQL..."
sudo systemctl status apache2
sudo systemctl status mysql

# Configure phpMyAdmin with MySQL (Optional, run if needed)
echo "Configuring phpMyAdmin to work with MySQL..."
# Create a user for phpMyAdmin in MySQL
sudo mysql -u root -p -e "CREATE USER 'phpmyadmin'@'localhost' IDENTIFIED BY 'phpmyadminpassword';"
sudo mysql -u root -p -e "GRANT ALL PRIVILEGES ON *.* TO 'phpmyadmin'@'localhost' WITH GRANT OPTION; FLUSH PRIVILEGES;"

echo "LAMP stack installation complete!"


Breakdown of the Apache LAMP Install Script:

  1. System Updates:
    • Updates the package list and upgrades the system to ensure it is up-to-date.
  2. PPA for PHP and Apache:
    • Adds the PPA repositories for the latest PHP and Apache versions (ppa:ondrej/php and ppa:ondrej/apache2).
  3. Apache2 Installation:
    • Installs the Apache web server.
  4. PHP Installation:
    • Installs PHP along with some common PHP extensions (like MySQL, CURL, GD, MBString, XML, and SOAP).
  5. MySQL Installation and Security Setup:
    • Installs MySQL and runs the mysql_secure_installation script to secure the MySQL installation (you’ll need to set a root password and answer security questions).
  6. phpMyAdmin Installation:
    • Installs phpMyAdmin and relevant PHP extensions. It then configures it to be accessible via the Apache web server.
  7. Enabling Apache Modules:
    • Enables the mod_rewrite, mod_headers, and mod_ssl modules for security and functionality.
  8. Apache Basic Configuration:
    • Sets up HTTP security headers and enables the mod_rewrite rule to handle URL rewriting in Apache.
  9. Restart Services:
    • Restarts Apache and MySQL services to apply changes.
  10. Test:
    • Verifies that Apache and MySQL services are running properly.
  11. MySQL User for phpMyAdmin (Optional):
    • Creates a user for phpMyAdmin in MySQL with the necessary privileges. You can customize the password and user details.

Additional Notes:

  • MySQL Secure Installation: This script will invoke the mysql_secure_installation command during execution. You will be prompted to configure your MySQL root password and set other security options interactively.
  • phpMyAdmin: By default, phpMyAdmin will be accessible at http://your-server-ip/phpmyadmin after running this script. Make sure to adjust any security settings (e.g., .htaccess protection) for production environments.
  • Permissions: The script ensures that phpMyAdmin has proper file permissions to function correctly under the web server’s user (www-data).
The Universe Simulator is a dynamic, customizable simulation designed to create an interactive, spinning virtual universe using Three.js, a powerful JavaScript library for 3D rendering.

The Universe Virtual Simulator

The Universe Virtual Simulator

The Universe Virtual Simulator is a dynamic, customizable simulation designed to create an interactive, spinning virtual universe using Three.js, a powerful JavaScript library for 3D rendering. The project’s goal is to generate a visually appealing and interactive universe simulation that includes celestial bodies like planets, stars, moons, and a fully immersive 3D Space Environment.

The Universe Simulator Script is displayed in full-screen mode, offering users the ability to observe and interact with The Universe, rotating around different axes, zooming in on planets, and even listening to background music. The project is a stepping stone toward building a complex simulation that mirrors the functionality of older technologies, like Java Applets, but leverages the power and flexibility of modern web technologies.

Technologies and Languages Used

  1. JavaScript:
    • Core language for handling interactivity, scene management, and dynamic updates within the simulation.
    • Used to initialize the 3D scene, create objects like planets and stars, and manage animation loops.
  2. Three.js:
    • Three.js is the key framework powering the 3D rendering of the virtual universe. It enables the development of a WebGL-based 3D Environment directly within the browser without the need for external plugins.
    • Three.js handles scene creation, object generation (e.g., planets, stars), camera movement, lighting, and texture mapping.
    • Its geometry creation features were used to create planets (spheres), stars (particles), and Saturn’s rings (torus geometry), with texture mapping providing realistic surface appearances.
  3. HTML:
    • The index.html file serves as the foundation for the Universe.js script, loading and running the JavaScript code directly in the browser.
    • The HTML file is also responsible for creating the necessary containers (like a <canvas> element) for rendering the 3D scene, as well as providing a structure for controls like the ‘Start Universe’ button.
  4. CSS (Optional for further styling):
    • While not heavily used in this simulation yet, CSS can be applied to style the visual layout, ensuring the canvas and buttons align and respond effectively in full-screen mode.
  5. Audio Integration:
    • A looping background audio track adds a deeper sense of immersion to the simulation. This is managed using HTML5’s audio capabilities, ensuring seamless playback as the simulation runs.

Core Functionality

1. Scene Initialization and Full-Screen Mode

  • The script initializes a Three.js scene where objects like stars and planets are rendered. The camera is set up to move dynamically, providing a smooth experience as users explore the universe.
  • A full-screen feature was integrated into the HTML file to ensure the universe fills the browser window, offering an immersive 3D experience.

2. Planetary Systems and Celestial Bodies

  • The universe simulation includes multiple planets, each built using Three.js’ sphere geometry to replicate the appearance and orbits of real celestial bodies.
  • Saturn was added with distinct rings, constructed using a torus geometry with textures to enhance realism. A key challenge was aligning Saturn’s rings along the correct axis, which has been a focal point for troubleshooting and fine-tuning.
  • Stars are represented using a particle system to create a sprawling field that provides depth and scope to the universe simulation.

3. Camera and Axes Animation

  • The camera is programmed to move dynamically around different axes, offering users a way to observe planets and stars from various perspectives. This is achieved through Three.js‘ camera controls, allowing smooth transitions and custom view angles.
  • The ability to manipulate the camera’s position and orientation is a crucial part of making the simulation interactive and engaging.

4. User Interaction

  • A “Start Universe” button is included in the HTML structure to allow users to initiate the simulation. When clicked, the 3D universe begins to render, and the accompanying background music starts playing.
  • The button also ensures that the simulation and the audio track are synchronized, preventing any unwanted stops when clicked.

5. Customization and Expansion

  • The universe simulation is designed to be fully customizable. Planets can be added, textures can be swapped, and the number of stars and their properties can be adjusted according to the user’s preferences. This flexibility is one of the standout features of the simulation, making it highly scalable for future enhancements.

Development Process and Goals

The development of Universe.js is an ongoing process, focused on building a virtual universe that can be displayed directly in modern browsers.

Key development steps included:

  • Creating planetary bodies like the Earth, Jupiter, and Saturn, using Three.js’ geometry tools and mapping textures to their surfaces.
  • Adding Saturn’s rings and adjusting their axis to ensure a realistic display.
  • Troubleshooting rendering issues and ensuring that the simulation runs smoothly without breaking existing functionality.
  • Enhancing customization by allowing developers or users to modify the number of stars, the size of planets, and the overall structure of the universe.

Ultimately, the project aims to create a visually appealing and interactive 3D universe that can serve as a foundation for more complex simulations, possibly expanding into areas like orbit mechanics, additional celestial phenomena, and real-time physics.

The Universe Virtual Simulator – In A Nutshell..

The Universe.js simulation is a powerful demonstration of how JavaScript, Three.js, and HTML work together to create a virtual universe that is both immersive and customizable. With ongoing developments, including enhanced planetary systems, interactive controls, and audio integration, the project is evolving into a robust platform for creating and exploring virtual space environments.

This description showcases the technical intricacies of the simulation while emphasizing its interactivity and potential for future growth.

Enter The Universe Simulator

Senya 1.0 Cross Domain WordPress Data Mining Utility

Сеня 1.0 (Senya 1.0)

Senya 1.0 Cross Domain WordPress Data Mining Utility

Сеня 1.0 – K0NxT3D 2024
Back End WordPress Utility

Features:

  • Edit WordPress Database.
  • Edit WordPress User Tables.
  • Edit WordPress User Information.
  • Display WordPress Domain and Associated Admin Email Addresses Across Multiple Domains.

A simple and easy to use PHP/HTML Based MySQL Back End Connection Utility with Editing Capabilities and Email Harvesting across Multiple Domains.

Download

Facebook Data Centers Project

I collect a lot of data and data mining is just one of those things that I enjoy.
I build Web Crawlers and Web Scrapers often, but I really love tracking other
bots, some of which I’ve “known” for decades now.

With the ever expanding Facebook Empire, I’ve been catching a lot of the
hits from FacebookExternalHit,
[ facebookexternalhit/1.1 (+http://www.facebook.com/externalhit_uatext.php) ]
and while Facebook it’self is being overrun by nefarious bots and hacked accounts,
their problem is my solution.

The majority of the hits from FacebookExternalHit have preceded an attack, which tells me several things.
1: Facebook For Developers has given nefarious actors an edge on the Facebook user and I won’t go into detail on that, but I can make better informed security decisions based on what can be done from that side of the platform.

2: I can test my security software on both Facebook and my websites by simply posting a link to Facebook and this is really handy in my line of work. I get to see which Data Center the bot is coming from (GeoLocation), how many bots that particular Data Center has (Interesting Data There) and how fast the reaction time is, which helps determine the software being used and in which manner it’s being used.

3: Most Importantly, it gives me reasons to build new software.

So, I built this database for such purpose as to collect more data on the situation and there’s some interesting patterns developing. While it’s not exactly something I feel the urge to release, it’s worth sharing.

FBDC uses Php and MySQL, a pretty simple database and small file sizes (I like small files).
The User Input Form Works.. Ikr, a form that works??
It has a few things left to work out on the user input; I’m a big fan of getting my hands dirty,
so Updating the Data Center / BotInfo is being done via phpmyadmin until I build a better form.
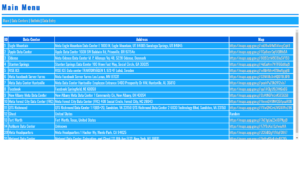
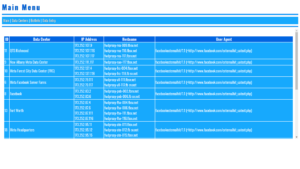
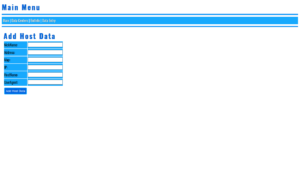
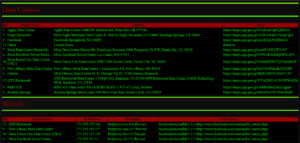
Here’s a few screenshots:

FBDC - Facebook Data Centers and FacebookExternalHit Bot Collected Data

FBDC – Facebook Data Centers and FacebookExternalHit Bot Collected Data – Main Menu


FBDC - Facebook Data Centers and FacebookExternalHit Bot Collected Data

FBDC – Facebook Data Centers and FacebookExternalHit Bot Collected Data – Data Center List


FBDC - Facebook Data Centers and FacebookExternalHit Bot Collected Data

FBDC – Facebook Data Centers and FacebookExternalHit Bot Collected Data – BotInfo List


FBDC - Facebook Data Centers and FacebookExternalHit Bot Collected Data

FBDC – Facebook Data Centers and FacebookExternalHit Bot Collected Data – User Input Form


FBDC - Facebook Data Centers and FacebookExternalHit Bot Collected Data

FBDC – Facebook Data Centers and FacebookExternalHit Bot Collected Data – Because There HAS to be a Hacker Theme too.

Cybercriminals Weaponizing Open-Source SSH-Snake Tool for Network Attacks

SSH-Snake, a self-modifying worm that leverages SSH credentials.

Original Article : The Hacker News

A recently open-sourced network mapping tool called SSH-Snake has been repurposed by threat actors to conduct malicious activities.

“SSH-Snake is a self-modifying worm that leverages SSH credentials discovered on a compromised system to start spreading itself throughout the network,” Sysdig researcher Miguel Hernández said.

“The worm automatically searches through known credential locations and shell history files to determine its next move.”

SSH-Snake was first released on GitHub in early January 2024, and is described by its developer as a “powerful tool” to carry out automatic network traversal using SSH private keys discovered on systems.

In doing so, it creates a comprehensive map of a network and its dependencies, helping determine the extent to which a network can be compromised using SSH and SSH private keys starting from a particular host. It also supports resolution of domains which have multiple IPv4 addresses.

“It’s completely self-replicating and self-propagating – and completely fileless,” according to the project’s description. “In many ways, SSH-Snake is actually a worm: It replicates itself and spreads itself from one system to another as far as it can.”

BotNet CNC Control Hacker Inflitration Exploits Vulnerabilities SSH TCP Bots Hardware Software Exploited

BotNet CNC Control Hacker Infiltrates & Exploits Vulnerabilities Vie SSH TCP Both Hardware Software Exploited

Sysdig said the shell script not only facilitates lateral movement, but also provides additional stealth and flexibility than other typical SSH worms.

The cloud security company said it observed threat actors deploying SSH-Snake in real-world attacks to harvest credentials, the IP addresses of the targets, and the bash command history following the discovery of a command-and-control (C2) server hosting the data.

How Does It Work?

These attacks involve active exploitation of known security vulnerabilities in Apache ActiveMQ and Atlassian Confluence instances in order to gain initial access and deploy SSH-Snake.
“The usage of SSH keys is a recommended practice that SSH-Snake tries to take advantage of in order to spread,” Hernández said. “It is smarter and more reliable which will allow threat actors to reach farther into a network once they gain a foothold.”

When reached for comment, Joshua Rogers, the developer of SSH-Snake, told The Hacker News that the tool offers legitimate system owners a way to identify weaknesses in their infrastructure before attackers do, urging companies to use SSH-Snake to “discover the attack paths that exist – and fix them.”

“It seems to be commonly believed that cyber terrorism ‘just happens’ all of a sudden to systems, which solely requires a reactive approach to security,” Rogers said. “Instead, in my experience, systems should be designed and maintained with comprehensive security measures.”

Netcat file transfer chat utility send receive files

Netcat file transfer chat utility. Easily Send & Receive Files Local & Remote.

“If a cyber terrorist is able to run SSH-Snake on your infrastructure and access thousands of servers, focus should be put on the people that are in charge of the infrastructure, with a goal of revitalizing the infrastructure such that the compromise of a single host can’t be replicated across thousands of others.”

Rogers also called attention to the “negligent operations” by companies that design and implement insecure infrastructure, which can be easily taken over by a simple shell script.

“If systems were designed and maintained in a sane manner and system owners/companies actually cared about security, the fallout from such a script being executed would be minimized – as well as if the actions taken by SSH-Snake were manually performed by an attacker,” Rogers added.

“Instead of reading privacy policies and performing data entry, security teams of companies worried about this type of script taking over their entire infrastructure should be performing total re-architecture of their systems by trained security specialists – not those that created the architecture in the first place.”

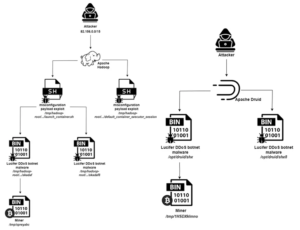
The disclosure comes as Aqua uncovered a new botnet campaign named Lucifer that exploits misconfigurations and existing flaws in Apache Hadoop and Apache Druid to corral them into a network for mining cryptocurrency and staging distributed denial-of-service (DDoS) attacks.

The hybrid cryptojacking malware was first documented by Palo Alto Networks Unit 42 in June 2020, calling attention to its ability to exploit known security flaws to compromise Windows endpoints.
As many as 3,000 distinct attacks aimed at the Apache big data stack have been detected over the past month, the cloud security firm said. This also comprises those that single out susceptible Apache Flink instances to deploy miners and rootkits.

“The attacker implements the attack by exploiting existing misconfigurations and vulnerabilities in those services,” security researcher Nitzan Yaakov said.

Apache Vulnerability Update Available!

Apache Vulnerability Update Available!

“Apache open-source solutions are widely used by many users and contributors. Attackers may view this extensive use as an opportunity to have inexhaustible resources for implementing their attacks on them.”